Science becomes truly exciting when learners can see ideas come to life with their own hands. Concepts like light, images, and lenses are often taught through diagrams or videos, but they make far more sense when students can build, test, and observe them directly. Hands-on science projects encourage curiosity, improve problem-solving skills, and help children understand how things work rather than simply memorizing facts.
One such hands-on learning tool is the DIY Wooden Science Projector Kit. This simple yet engaging model allows children to build a working projector from scratch, turning abstract physics concepts into something visible, interactive, and fun.
This wooden science projector kit is designed as an early learning STEM toy, combining creativity, problem-solving, and fundamental physics concepts in one engaging project.
What Does the DIY Projector Do?
Once assembled, the DIY projector can project images onto a wall or screen using slider, light and lenses. By inserting a transparent slide inside the projector and switching on the light source, the image is magnified and projected forward.
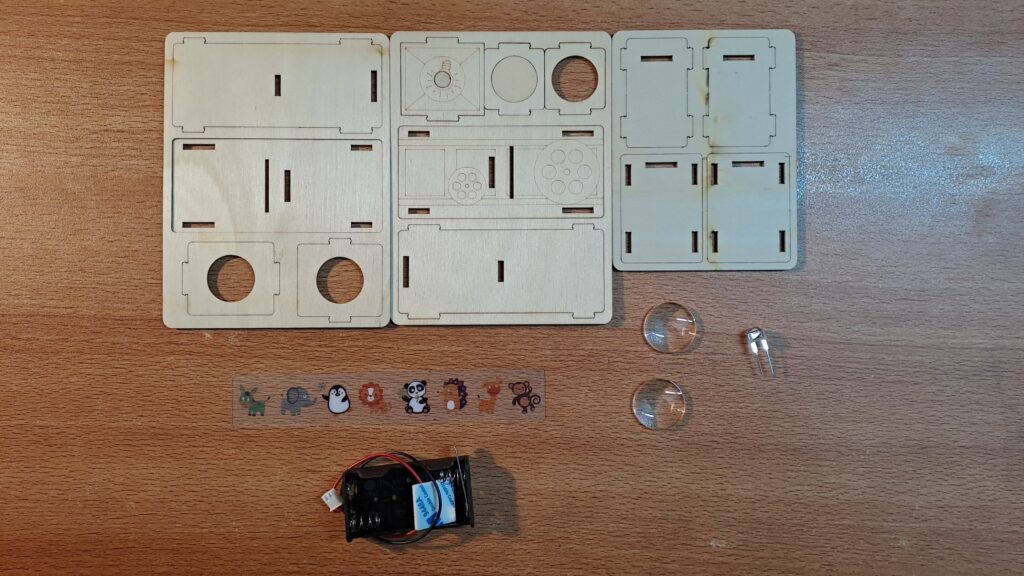
Components of DIY Projetctor Kit
The DIY Projector Kit Consists of following frame:
- Wooden Frames
- Two Convex Lens
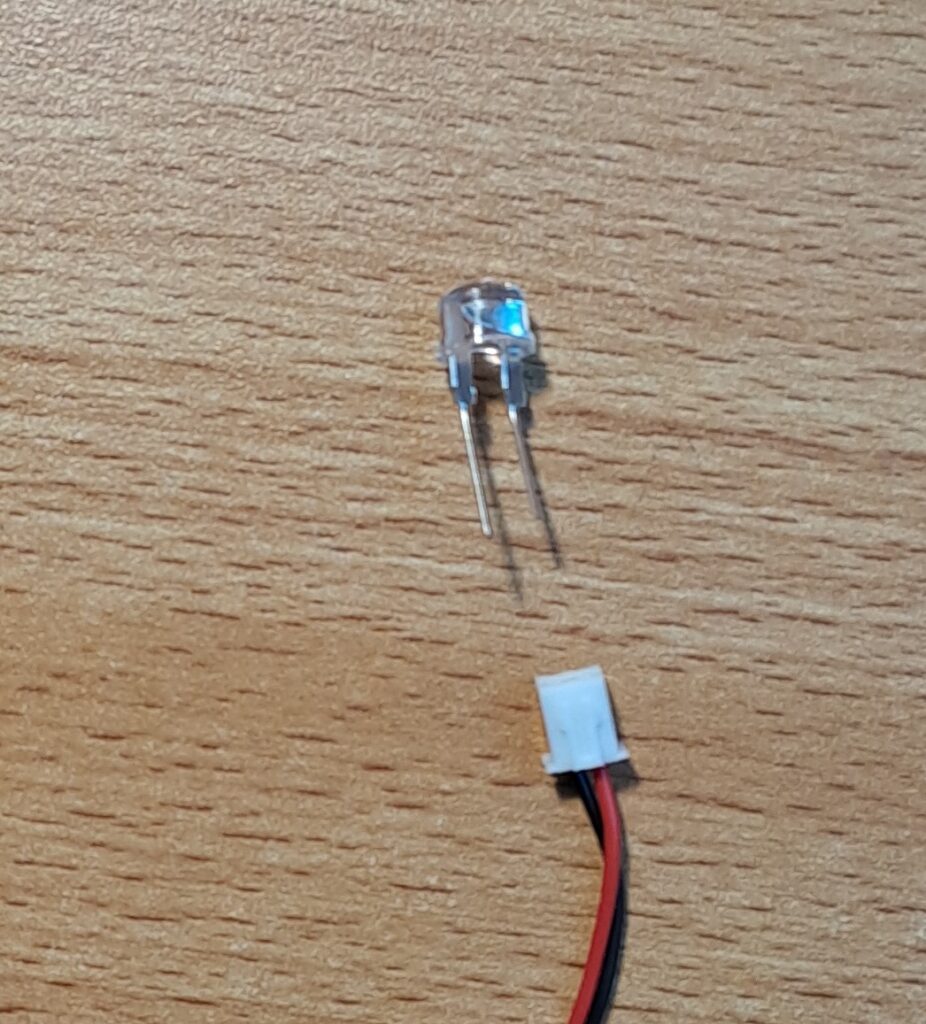
- One Light Emitting Diode commonly known as LED
- Slider with animal images
- Battery Holder with connecting wires
The Science Behind the Projector (Made Simple)
The DIY projector works on basic principles of optics:
- A light source strikes the surfance of slider which has images on it. It illuminates the image which is directly infront of the light.
- The image slide blocks and shapes the light.
- The first lens is placed close to the slide inside the projector. That light then hits the surface of the first convex lens. The purpose of the first lens is to collect light from the illuminated image and then bends the light rays.
- These rays then hit the second lens. It further magnify the image and help adjust the focus of the image.
- The second lens also ensure that the image appears sharp on the wall.
- For more details on how convex lens work refer to article: Optical Lenses: Different Types, Uses, and Practical Applications
Note: In some projector kits, a single lens is used instead of multiple lenses.
Assembling the DIY Projector Kit
The kit can be easily assembled using the intruction mannual. However, following are the keys steps in assembling:
- Firstly assembly the base structure of the projector using wooden panels.

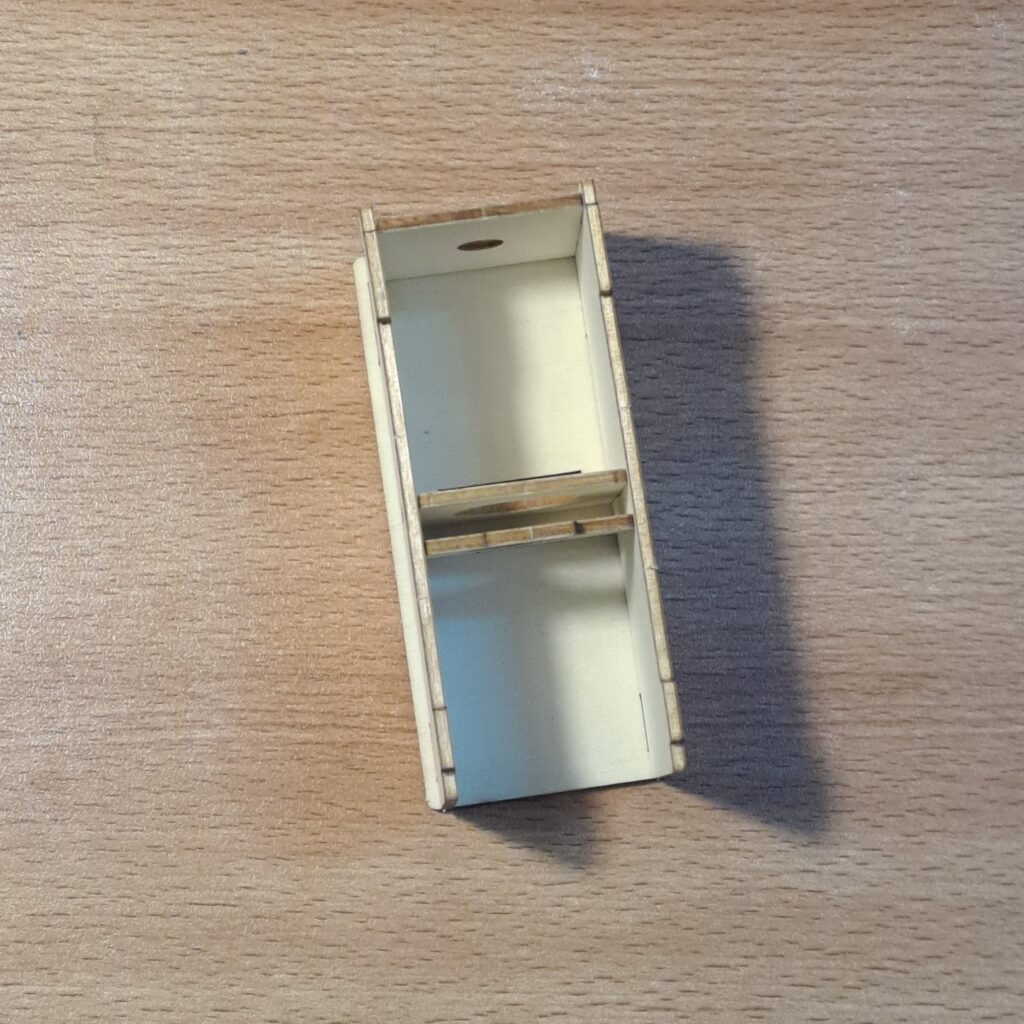
2. Insert the lens between the two wooden frames as shown in the picture above.
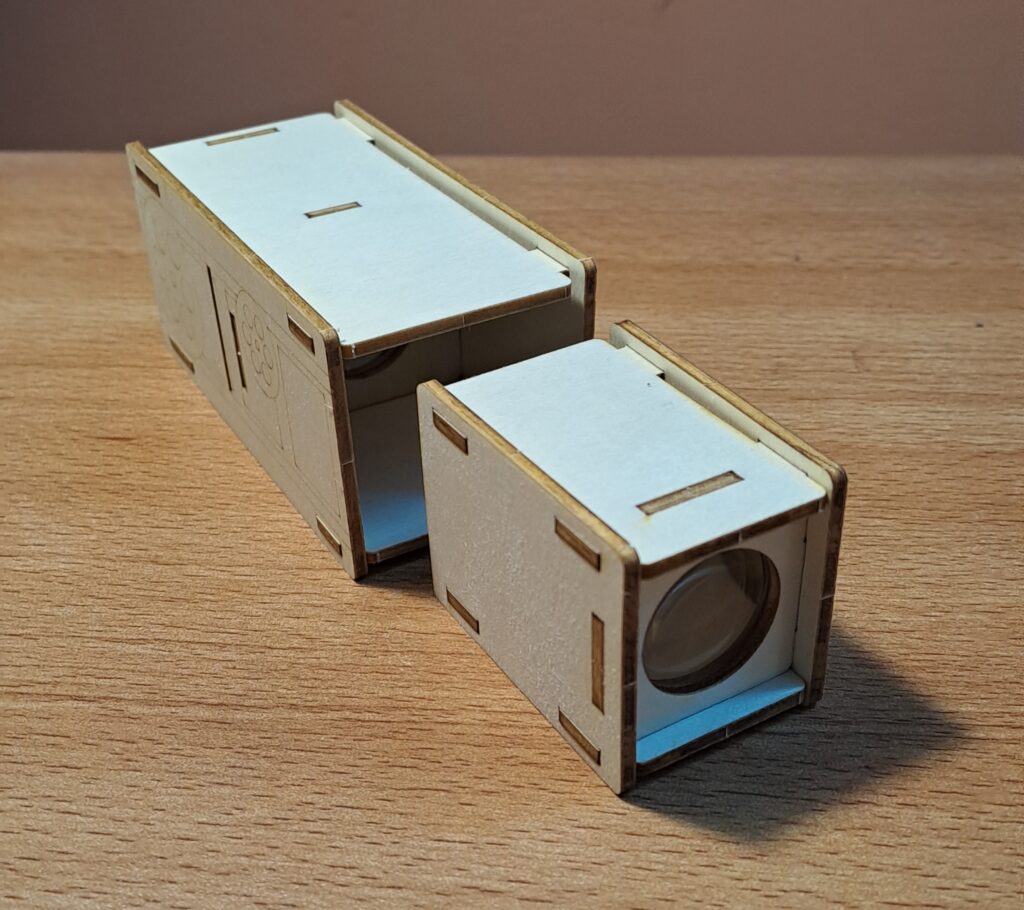
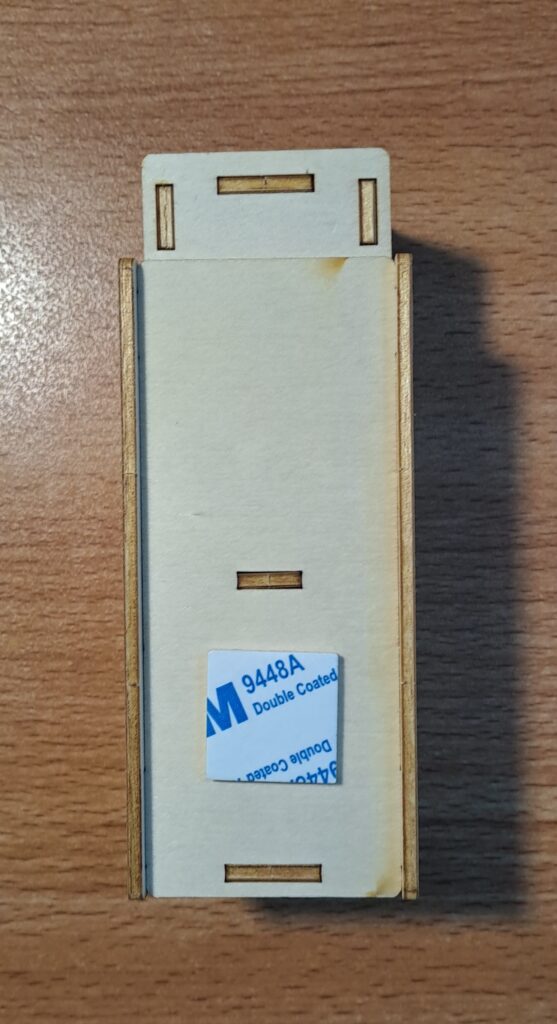
3. Once the wooden frame structure is completed, you will get two wooden structure similar to the one shown below:
4. Now connect the LED with the cell holder. Its important to note how connections of LED terminals are to be made. The long leg of LED is to be connected with black wire of the cell holder and short leg is to be connected with the red wire.
5. Stick the dual tape onto the main wooden structure on which cell holder will be fixed.
6. Insert the LED into the small hole on main wooden structure as shown below.
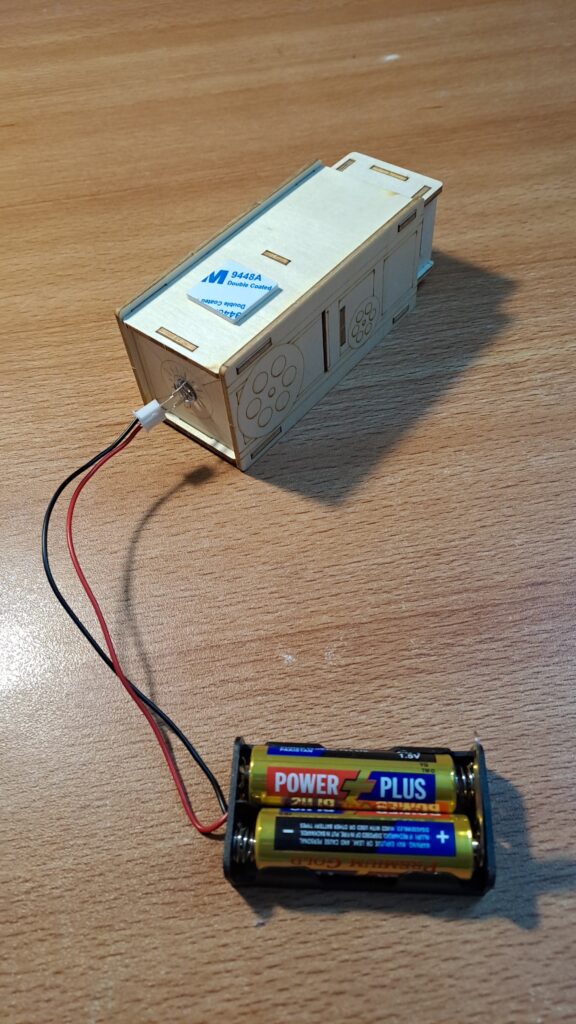
7. Finally, affix the cell holder onto the dual tape on top of the projector
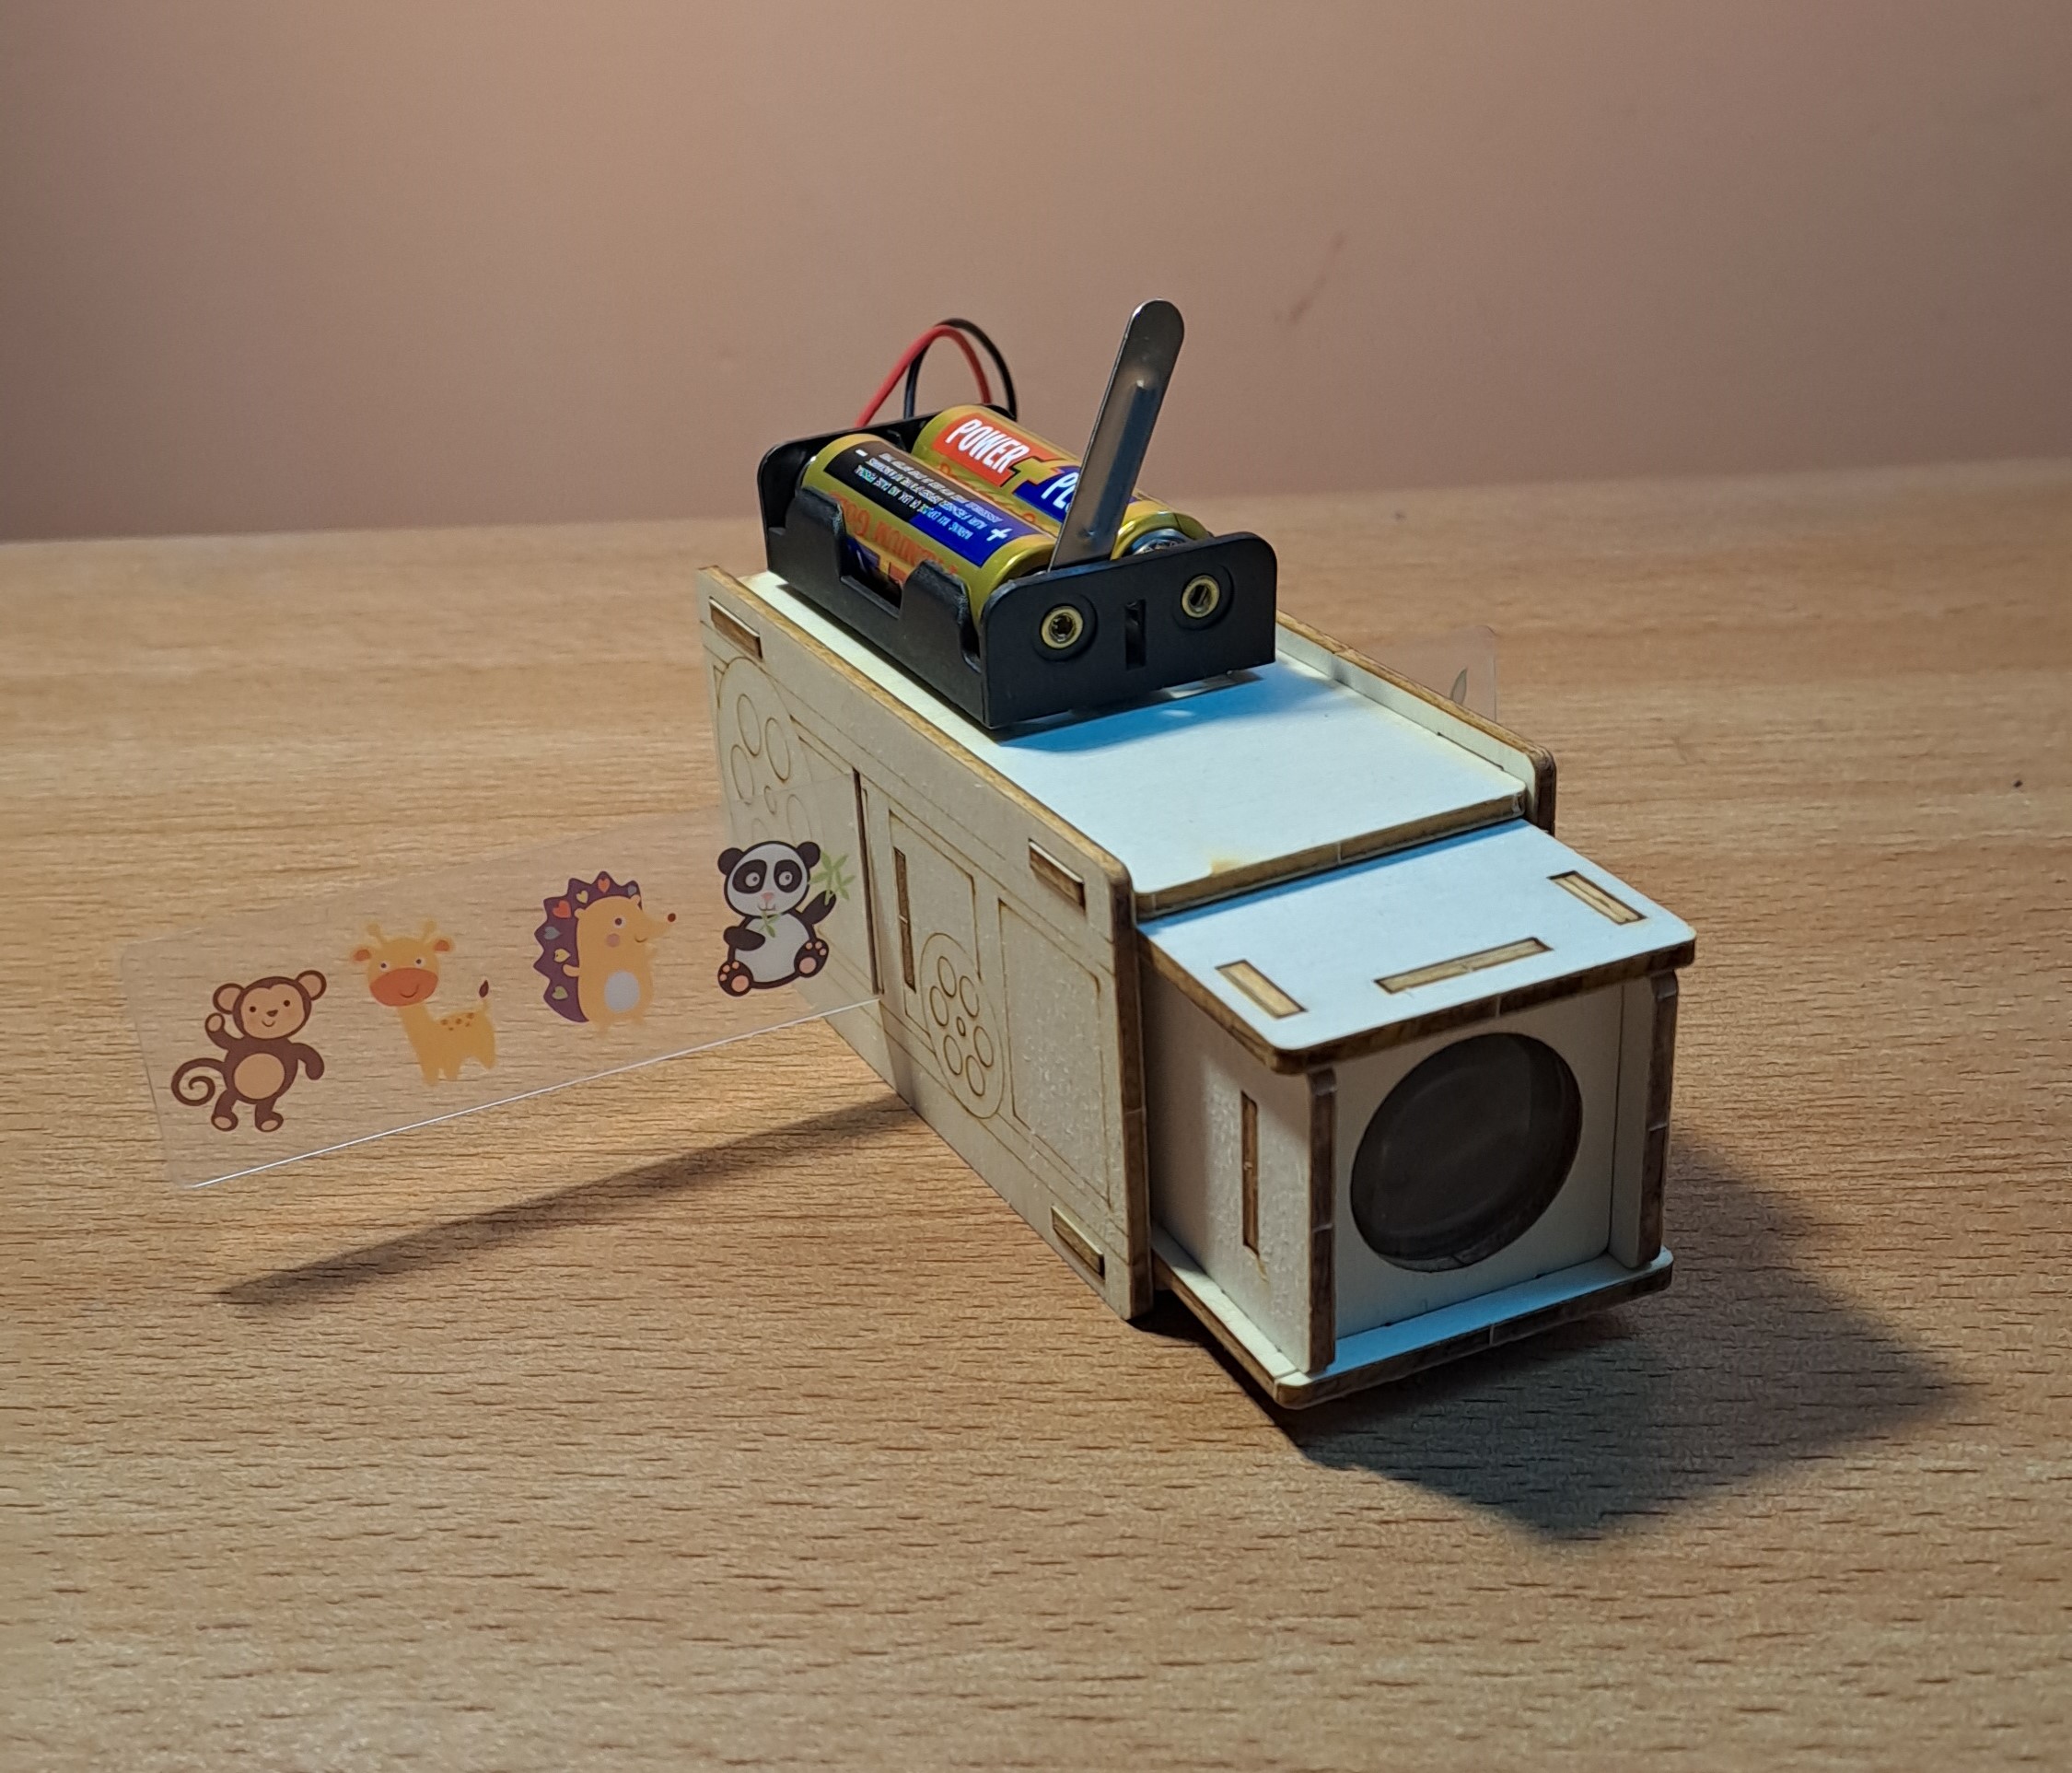
Now projector is ready to be used. Simply pull down the metal strip onto the cell holder and the LED will turn on.

What Does the DIY Projector Do?
Once assembled, the projector can project transparent animals slide onto a flat surface. When a light source shines through the slide and passes through a lens, the image showing a particular animal is enlarged and projected forward. Users can adjust the distance between the projector and the wall to see how image size and sharpness change.
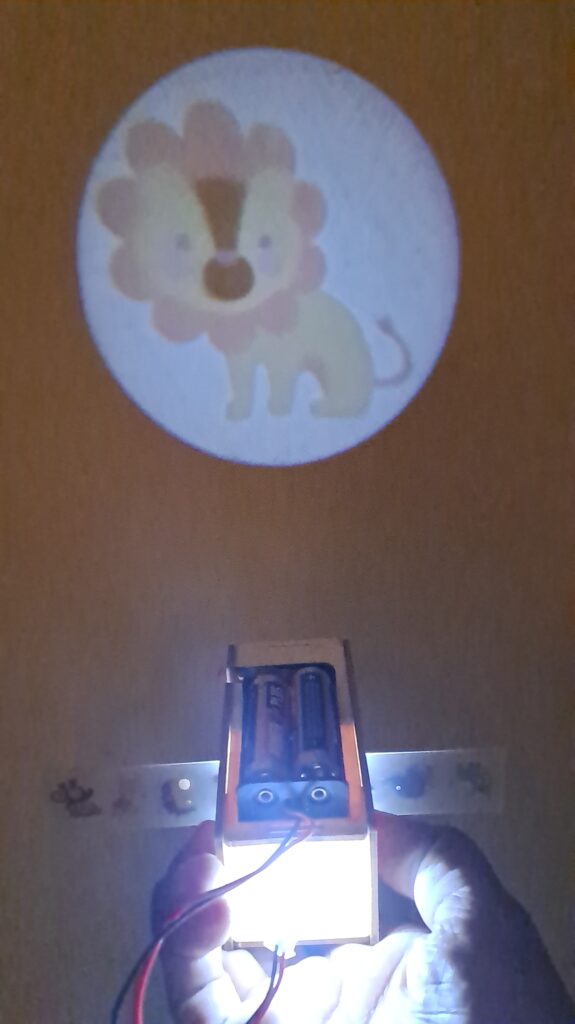
By displacing the slide, the picture of the animal can also be changed.
This process introduces children to fundamental ideas such as image formation, magnification, and focusing in a very intuitive way.
Conclusion
The DIY Wooden Science Projector Kit is more than a simple toy—it is a practical demonstration of how light and lenses work together to create images. By using two lenses with distinct purposes, the kit helps learners understand real optical systems in a clear and engaging way. Building and experimenting with the projector makes science interactive, memorable, and fun.
If you are interested to buy this kit, click here: https://s.click.aliexpress.com/e/_c4q25rVH
Watch the video here: